Solar PV Process From Initial Contact To Completion

Solar PV Process From Initial Contact To Completion
Solar photovoltaic (PV) systems are an increasingly popular renewable energy solution that converts sunlight into electricity. Designing and installing a solar PV system involves several key steps to ensure optimal performance and efficiency. Here's a concise overview of the process:
Initial Assessment:
The first step in the solar PV design process is to conduct an initial assessment. This involves evaluating the site where the solar panels will be installed. Factors such as location for any planning concerns, shading for production issues, orientation for solar panel quantities, and the available space area are taken into account. Additionally, the energy needs of the property or facility are analysed to determine the appropriate system size.
Energy Audit:
An energy audit is performed to understand the electricity consumption patterns of the property. You can have as many solar panels as you like but there is always an optimal amount that is best for your electrical usage and by assessing historical energy usage data, peak demand times, and seasonal variations, the design team can accurately size the solar PV system to meet the property's energy requirements.
System Design:
Based on the assessment and energy audit results, the solar PV system is designed. This includes determining the number and type of solar panels, inverters, mounting structures, and other components needed for the installation. The design considers efficiency, cost-effectiveness, and local regulations. 
Permits and Approvals:
Planning permission and DNO application are required prior to installation on some occasions. Most solar pv installations come under permitted development and take into account the size of the roof rather than the amount of solar panels. It’s always worth consulting your local authority to make sure that the installation is covered under permitted development as rules and requirements change from time to time. While you're on the subject it might be worth mentioning it to your neighbours as it’s polite to notify them but ultimately you don’t need their permission. Below are a couple conditions that require further consultation for planning permission:
- -Listed buildings or conservation area
- -Flats and maisonettes
DNO applications are referred to as G99 which is required on systems over 3.6kw. The 3.6kw is the rating of the inverter and not the combined solar panel wattage.
Procurement of Equipment:
Once the design is finalised, planning and DNO approval are secured if required, the required solar PV equipment is procured. This includes high-quality solar panels, inverters, mounting systems, wiring, and other system components.
Installation:
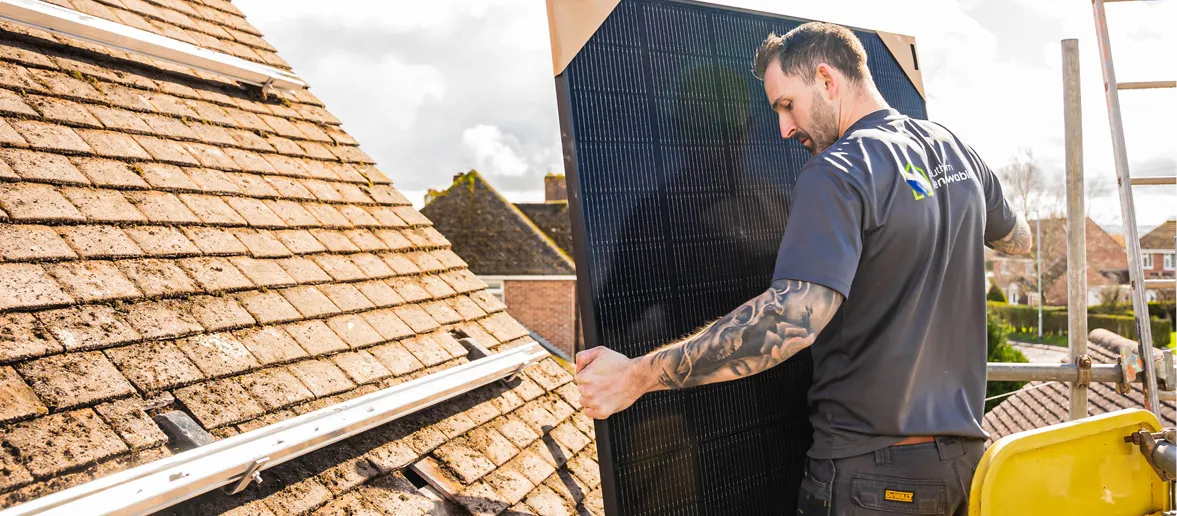
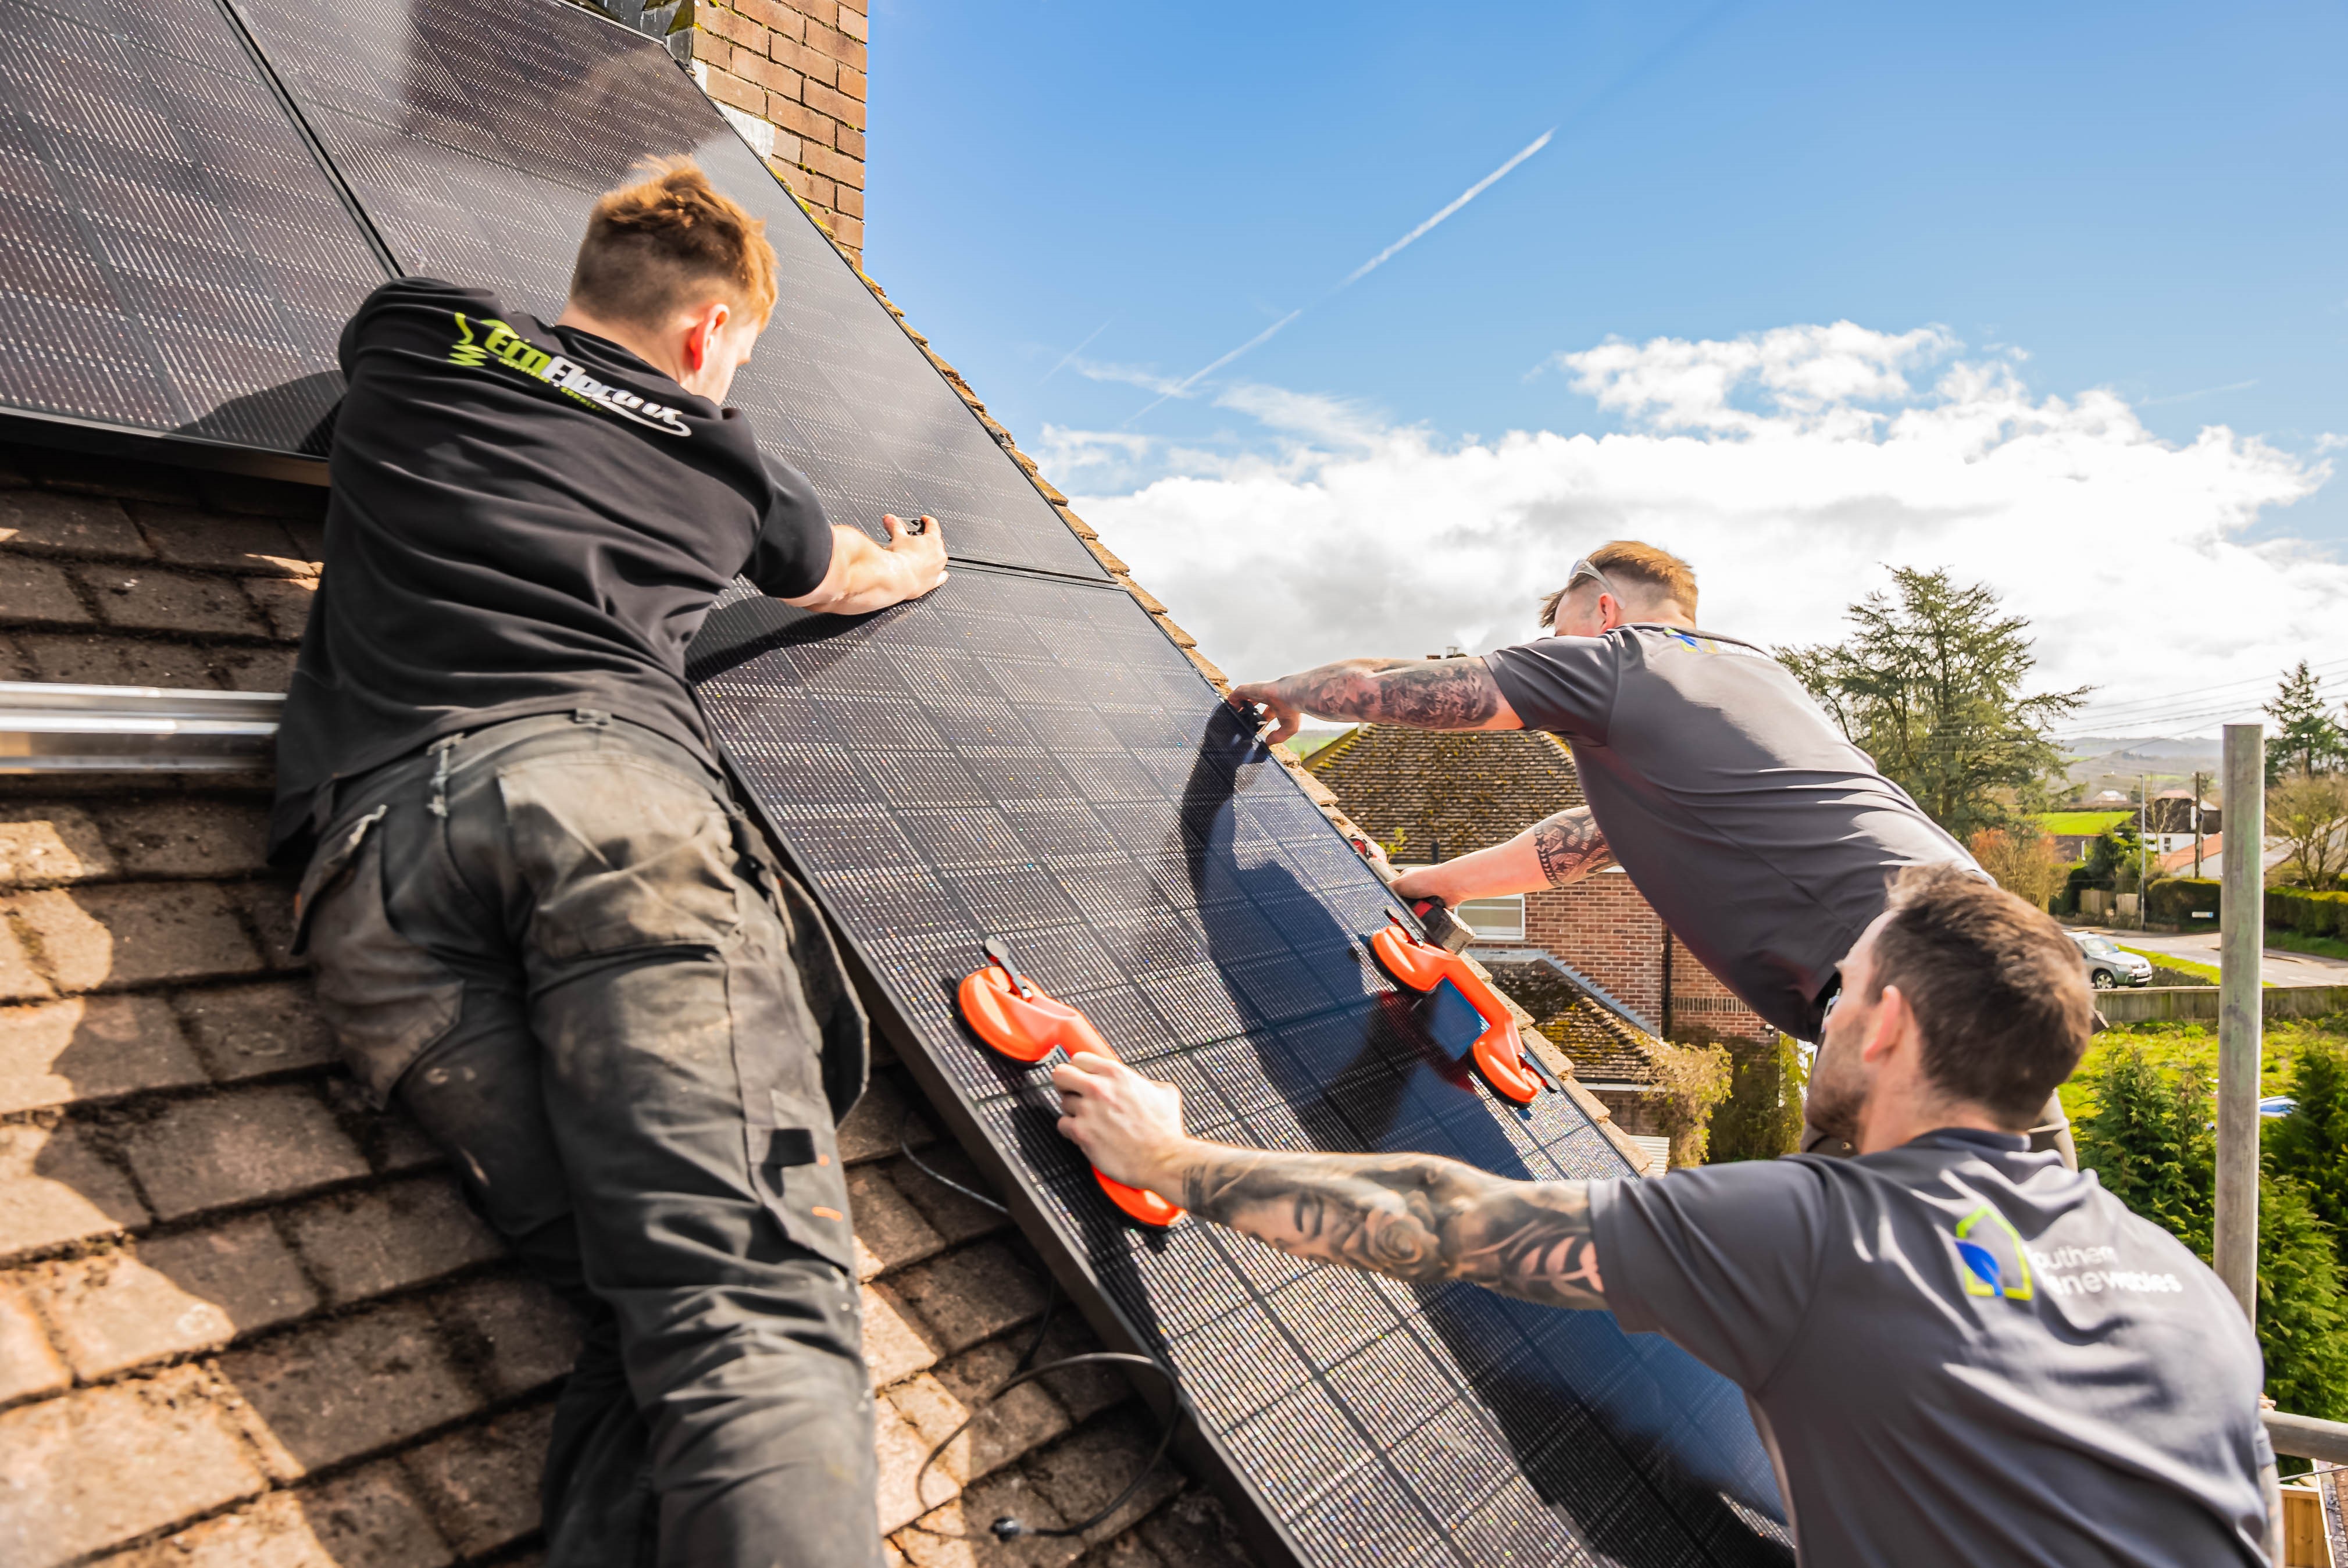
The solar PV installation begins with preparing the site, such as installing access scaffolding. When a safe system of work has been confirmed we will install the roof mounting system that the solar panels will be secured to. Next, solar panels are securely mounted onto the structures, ensuring they are properly angled for maximum sun exposure. The inverters and electrical components are then installed and connected to the panels via a double insulated solar cable. 
Electrical Wiring:
Qualified electricians handle the electrical wiring of the system. This includes connecting the solar panels in an array and linking them to the inverters and the property's electrical system. Safety measures are strictly followed to prevent any electrical hazards as DC voltages range from 100-500volts which under fault conditions can create very high and dangerous temperatures.
Commissioning and Testing:
After the installation is complete, the system undergoes commissioning and testing. This involves a thorough inspection to verify that all components are functioning correctly and safely. Performance tests measure the system's energy output and ensure it meets design expectations.
Utility Connection:
Before the solar PV system can begin generating power for the property, it must be connected to the utility grid. This process involves setting up a net metering agreement with the utility company, allowing excess energy to be exported to the grid and credited back to the property owner which is referred to as SEG payments. To sign up for SEG payments you will need to instruct an MCS registered installer to install your PV system, You can find an MCS registered installer on the MCS website. SEG payment amounts differ between energy providers so check what your provider is offering but on average it’s 0.05p per kWh.
Monitoring and Maintenance:
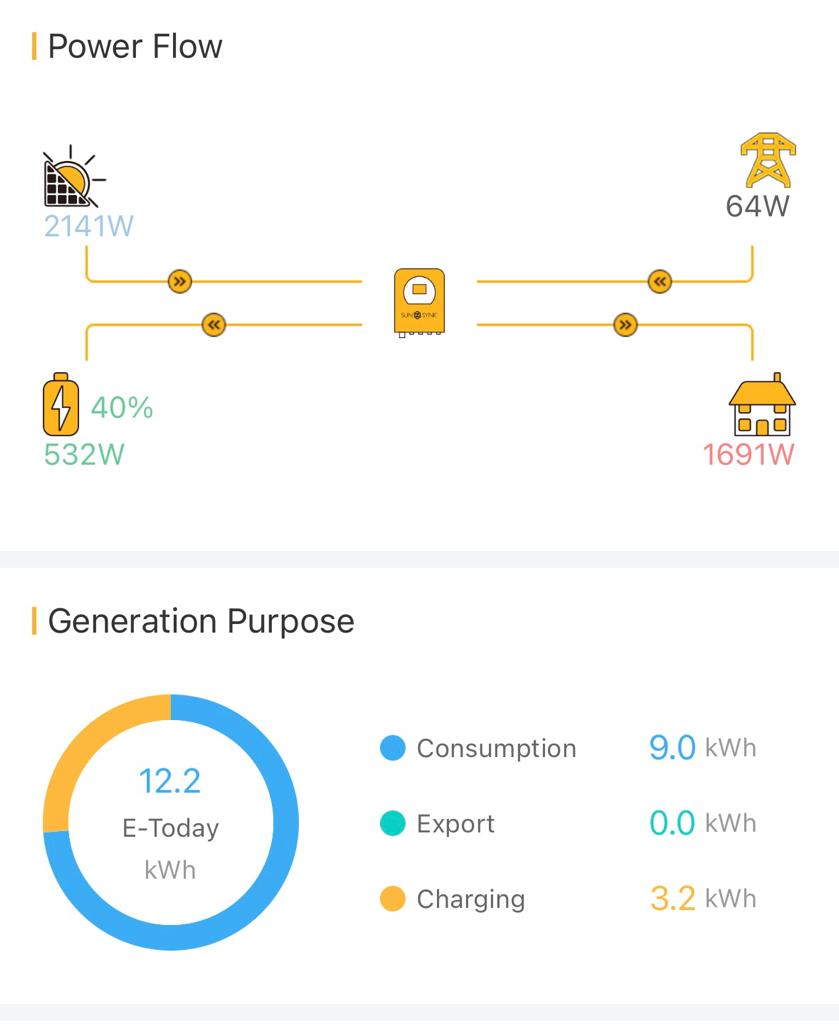
Once the solar PV system is operational, regular monitoring and maintenance are essential to ensure its long-term performance and efficiency. Monitoring systems track energy production and flag any potential issues. Routine maintenance, such as cleaning the panels and inspecting the components, helps to maximise the system's lifespan. The rain will clean your solar panels to a certain amount but if you’re close to a dusty environment (quarry) then you will need them cleaned from time to time by a specialist. 
In conclusion, designing and installing a solar PV system involves a comprehensive process that begins with an assessment of the site and energy needs, followed by system design, procurement, and installation. Compliance with regulations, proper testing, and ongoing monitoring and maintenance are vital to the success of the solar PV installation, providing clean, renewable energy for years to come.


